Outdoor Light Installation Guide
Summer’s arrival brings warmer days and this means many of us are once again turning our attention to our gardens. With the excitement of sunny barbecues and vibrant garden blooms ahead, it’s the ideal time to enhance your outdoor spaces. While you prepare your begonias and set up paddling pools, consider the transformative effect of well-placed outdoor lighting. Not only does it extend your enjoyment into the evening, but it also creates beauty in your nighttime landscape.
We realise the thought of installing outdoor lighting may be a bit daunting, so we’ve created a straightforward landscape lighting installation guide. Our guide should demystify the process and show you how to illuminate your garden easily and effectively.
How To Install Outdoor Lighting
1. Safety First
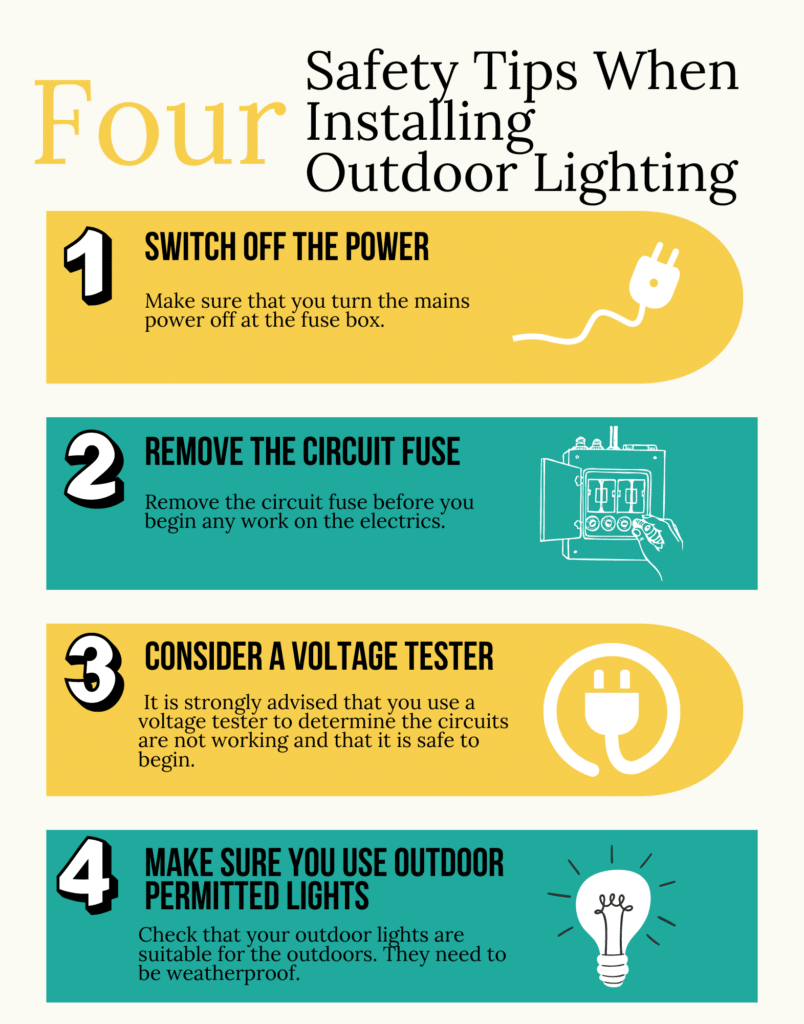
Before you, or anyone around you, goes near any electrics, make sure that you turn the mains power off at the fuse box. You should then isolate the circuit that you’ll be working on. This is done by removing the circuit fuse.
Once you have done that, it is strongly advised that you use a voltage tester to determine the circuits are not working and that it is safe to begin. There are safety precautions that you need to also follow when using a voltage tester, so please make sure that you research this fully before use.
Wiring must be protected from moisture, so make sure that any metalwork is earthed. If you are ever confused regarding the processes of wiring and metalwork, you should speak to a qualified electrician.
Lastly, when it comes to safety, make sure that you are only installing lights that are permitted for outdoor use. These need to be weatherproof.
2. Place Your Mounting Bracket
On the wall or surface you wish to install your lighting feature, place your mounting bracket. Remember to choose a position where you can connect the outdoor lighting installation to power. Drill the bracket into place. A spirit level can help to determine the straightness of the mounting bracket.
3. Connect The Wires
Most modern lighting units will come already fitted with a residual current device, also known as an RCD. It is deemed the safer option, as in the event of a fault, the power will shut off straight away.
In the RCD, make sure that the corresponding wires are connected to the same colour wire on the light fixture: hot wires are black or red, neutral are grey or white and ground wires are green or copper. You can connect these together by twisting wires from the wall to the same colour, and topping the twisted wires with a wire connector and tightening this.
The connectors will need to be wrapped in electrical tape, too.
Install Your Lighting Feature
You can now attach the lighting feature to the mounted bracket. Make sure that you seal any gaps around the mounting bracket and the wall with a sealant.
If you are entirely happy with the process so far, you may now add a light bulb to the light feature. Once the light bulb is in place, you can switch the power back on. You should only do this if you are 100% happy with the wiring and fixture process.
If you have any concerns or do not feel entirely comfortable when completing an outdoor lighting installation, you must speak to a qualified electrician. They will be able to assist you.
Explore our stylish and energy-efficient lighting solutions. Call us today and transform your outdoor space with the perfect lights.

